An access point is a device that creates a wireless local area network, or WLAN, usually in an office or large building. An access point connects to a wired router, switch, or hub via an Ethernet cable, and projects a Wi-Fi signal to a designated area. In this blog post we would look at easy steps to help in setting up a NODEMCU to act as a WiFi Access Point(AP).
Before we start moving further we believe you have installed all the relevant libraries and got your NodeMCU to work well if not look at the blog post here that we recently published https://blogspot.tenettech.net/2021/10/18/4-easy-steps-to-get-started-with-nodemcu-using-arduino-ide/ earlier
In order to setup the NodeMCU to work as a Access point please use the following demonstration code below
/* * Author: Ram * Version : 1.0 * Description : Code that helps to setup the ESP8266 based NodeMCU as an access point and also serves a webage to help control * the on board LED. */ #include <esp8266wifi.h> #include <esp8266webserver.h> /* * SSID helps in providing the name of the WIFI that shows up when you seaarch for connecting . * Set them appropriately to anything that you desire. */ const char* ssid = "TenetNodeMCU"; // Enter SSID here const char* password = "123456789"; //Enter Password here /* Configure IP address that you would like the nodemcu to take up */ IPAddress local_ip(192,168,1,1); IPAddress gateway(192,168,1,1); IPAddress subnet(255,255,255,0); ESP8266WebServer server(80); uint8_t LEDonBoard = LED_BUILTIN; bool LEDstatus = LOW; void setup() { Serial.begin(115200); Serial.println("Boot up"); pinMode(LEDonBoard, OUTPUT); //initialize the AP mode for the ESPdevice WiFi.softAP(ssid, password); WiFi.softAPConfig(local_ip, gateway, subnet); delay(100); server.on("/", handle_OnConnect); server.on("/led1on", handle_led1on); server.on("/led1off", handle_led1off); server.onNotFound(handle_NotFound); server.begin(); Serial.println("HTTP server started"); } void loop() { server.handleClient(); if(LEDstatus) {digitalWrite(LEDonBoard, HIGH);} else {digitalWrite(LEDonBoard, LOW);} } void handle_OnConnect() { LEDstatus = LOW; Serial.println("LED Status: OFF"); server.send(200, "text/html", SendHTML(LEDstatus)); } void handle_led1on() { LEDstatus = HIGH; Serial.println("GPIO7 Status: ON"); server.send(200, "text/html", SendHTML(true)); } void handle_led1off() { LEDstatus = LOW; Serial.println("GPIO7 Status: OFF"); server.send(200, "text/html", SendHTML(false)); } void handle_NotFound(){ server.send(404, "text/plain", "Not found"); } String SendHTML(uint8_t led1stat){ String ptr = " \n"; ptr +="<meta name="\"viewport\"" content="\"width=device-width," initial-scale="1.0," user-scalable="no\"">\n"; ptr +="<title>LED Control</title>\n"; ptr +="<style>html { font-family: Helvetica; display: inline-block; margin: 0px auto; text-align: center;}\n"; ptr +="body{margin-top: 50px;} h1 {color: #444444;margin: 50px auto 30px;} h3 {color: #444444;margin-bottom: 50px;}\n"; ptr +=".button {display: block;width: 80px;background-color: #1abc9c;border: none;color: white;padding: 13px 30px;text-decoration: none;font-size: 25px;margin: 0px auto 35px;cursor: pointer;border-radius: 4px;}\n"; ptr +=".button-on {background-color: #1abc9c;}\n"; ptr +=".button-on:active {background-color: #16a085;}\n"; ptr +=".button-off {background-color: #34495e;}\n"; ptr +=".button-off:active {background-color: #2c3e50;}\n"; ptr +="p {font-size: 14px;color: #888;margin-bottom: 10px;}\n"; ptr +="</style>\n"; ptr +="\n"; ptr +="\n"; ptr +="<h1>Tenet Technetronics Demo</h1>\n"; ptr +="<h3>Using Access Point(AP) Mode</h3>\n"; if(led1stat) {ptr +="<p>LED1 Status: ON</p><a class="\"button" button-off\"="" href="\"/led1off\"">OFF</a>\n";} else {ptr +="<p>LED1 Status: OFF</p><a class="\"button" button-on\"="" href="\"/led1on\"">ON</a>\n";} ptr +="\n"; ptr +="\n"; return ptr; } </esp8266webserver.h></esp8266wifi.h>
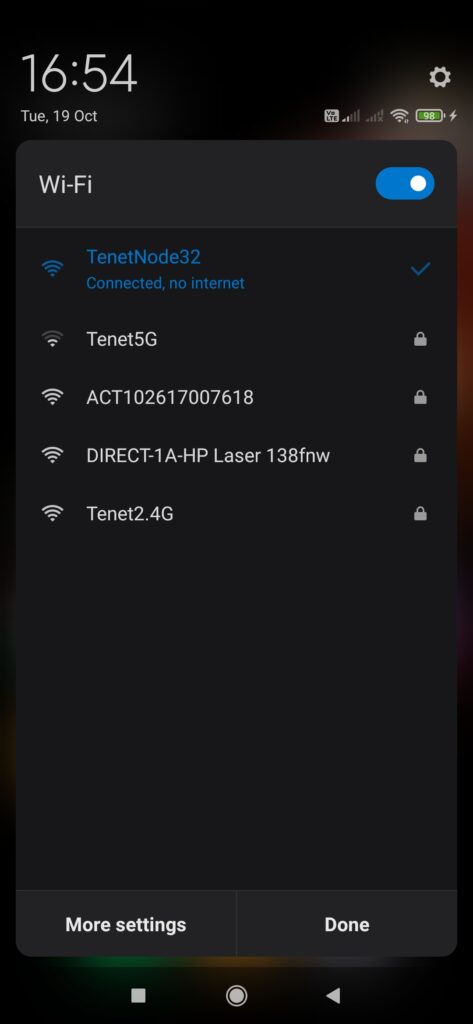
The code above should let the NodeMCU act as a AP and one should be able to discover this network and connect to it with a webpage showing the details to turn on and off an LED on board

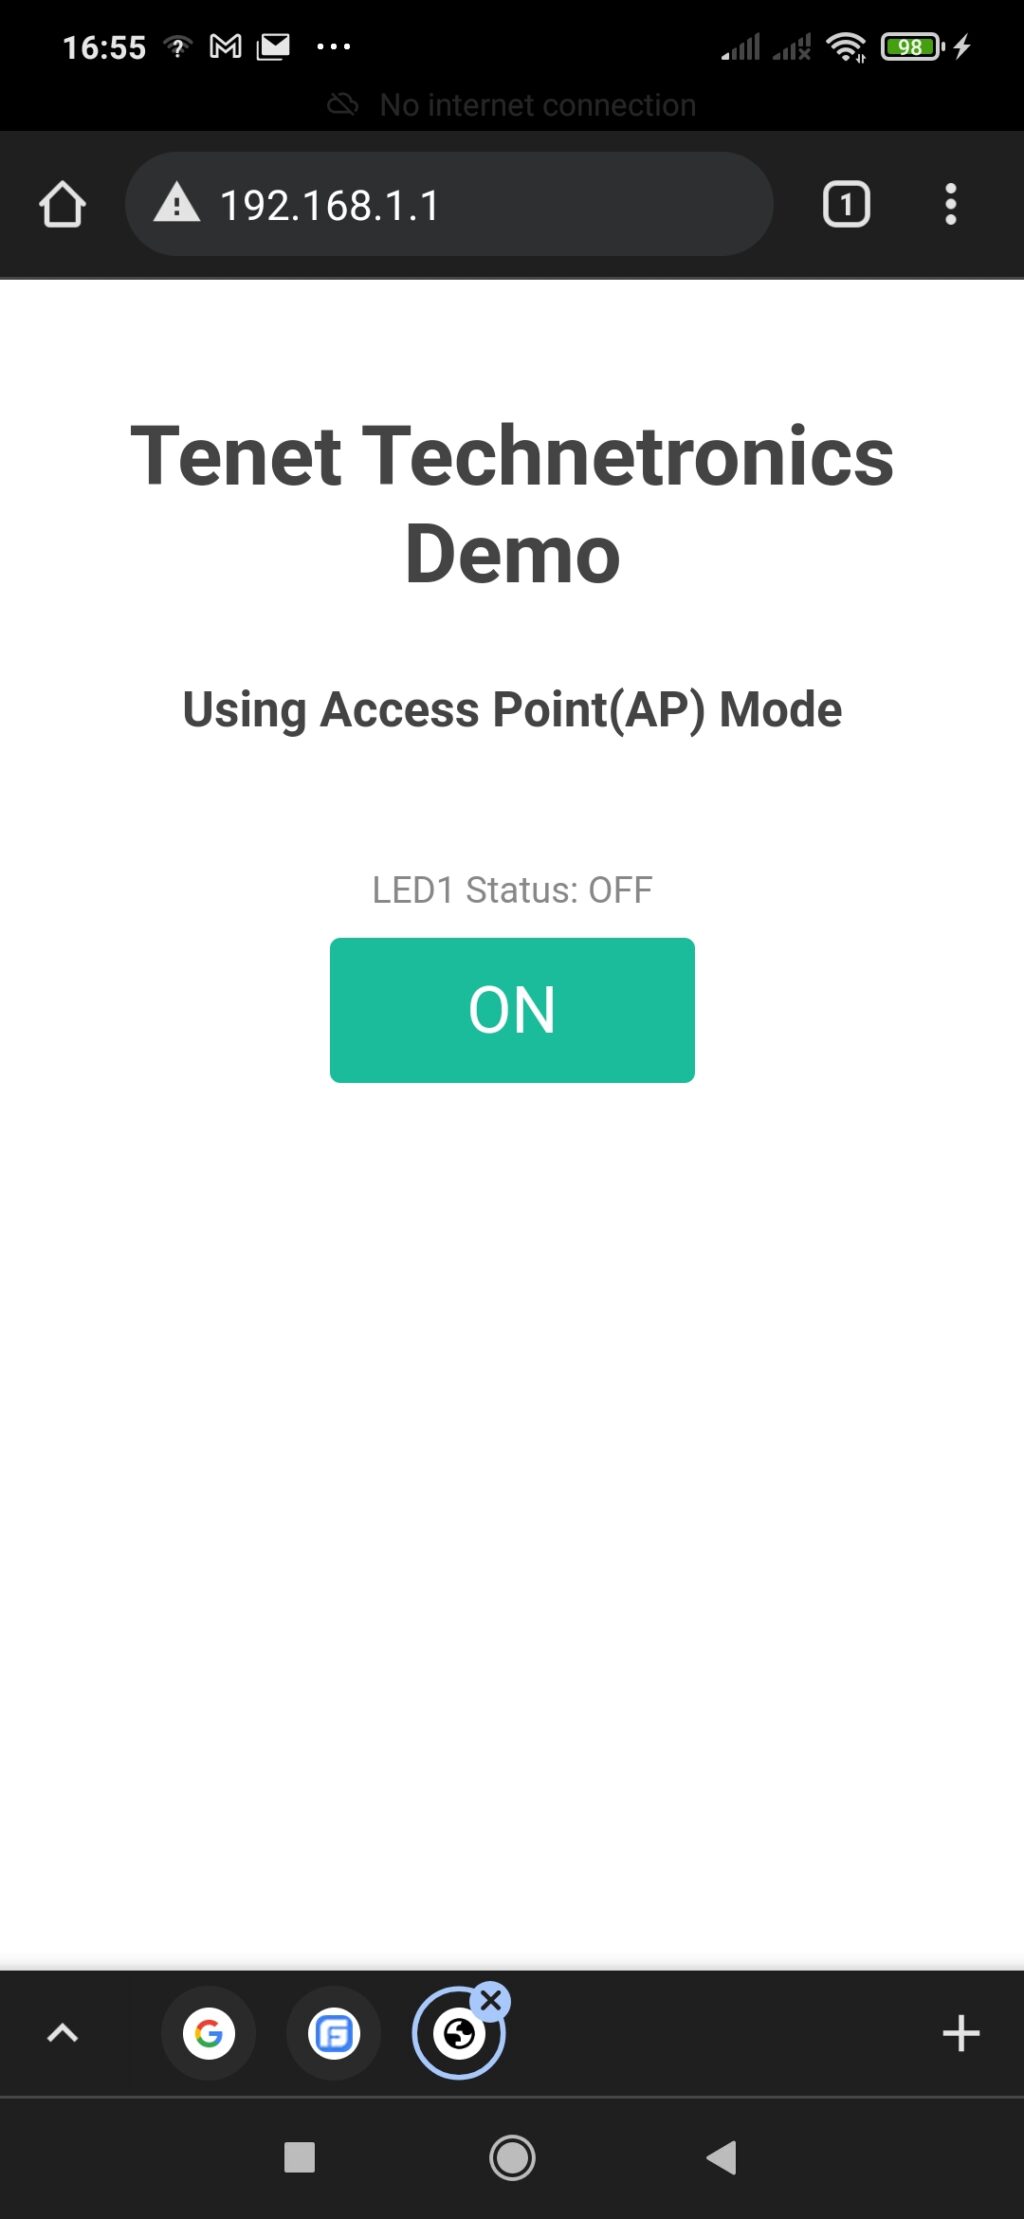
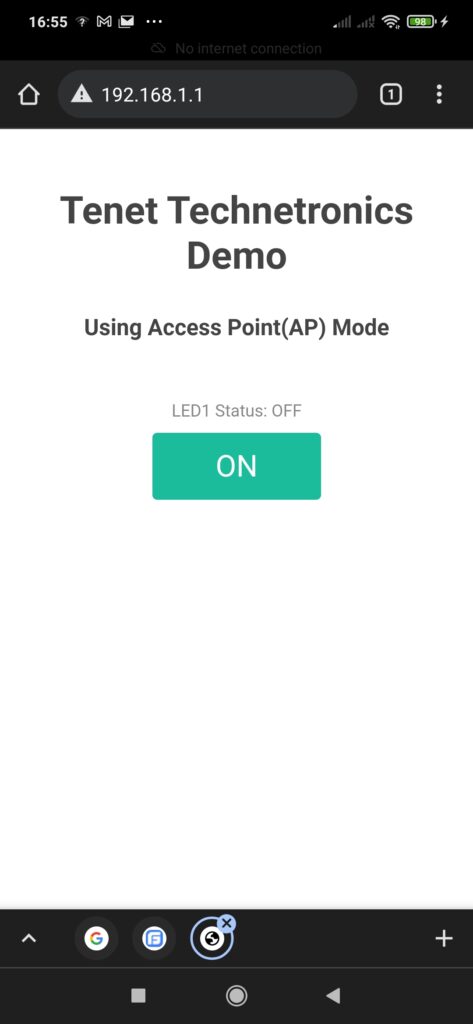
Once the WiFi shows up one could connect to the nodemcu from a browser and get the LED going by switching on and off from the webpage presented as in the image below

Hope this short post provides easy way to get a NodeMCU and associated components connected to be easily controlled through a WiFi Interface.
If you would like to buy one of these interesting NodeMCU boards checkout our webstore : https://tenettech.com/search/nodemcu
Feel free to email us if you have additional questions : info@tenettech.com


