Its been a while pending we wanted to write about the nodemcu kit and also write up some blogs that are focused on some interesting experiments . In this Episode we would look at how to setup a nodemcu and also program the same using Arduino IDE and capture some high level steps.
It turns out that there are multiple ways in which one could target this powerful tiny platform. We would focus in this blog spot however on using the popular Arduino IDE and then experience how we could get the board up and running.
Step 1: Install Arduino IDE on your desktop . Instructions can be found easily all over the web for this so lets not rewrite the same here. A good starting point could be found here : https://www.arduino.cc/en/guide/windows
Step 2: Launch the IDE and from the File menu select the preferences option

Step 2: In the Additional Boards Manager URLs type in the following url which contains the JSON entry for the ESP8266 board
http://arduino.esp8266.com/stable/package_esp8266com_index.json
This should enable to find the esp8266 in the board managers and install the appropriate libraries

Step 3: Navigate to Tools->Board Manager and search and install the esp8266 board support in the Arduino IDE

This completes the software installation for the NodeMCU. That was easy isn’t it ?
Step 4:
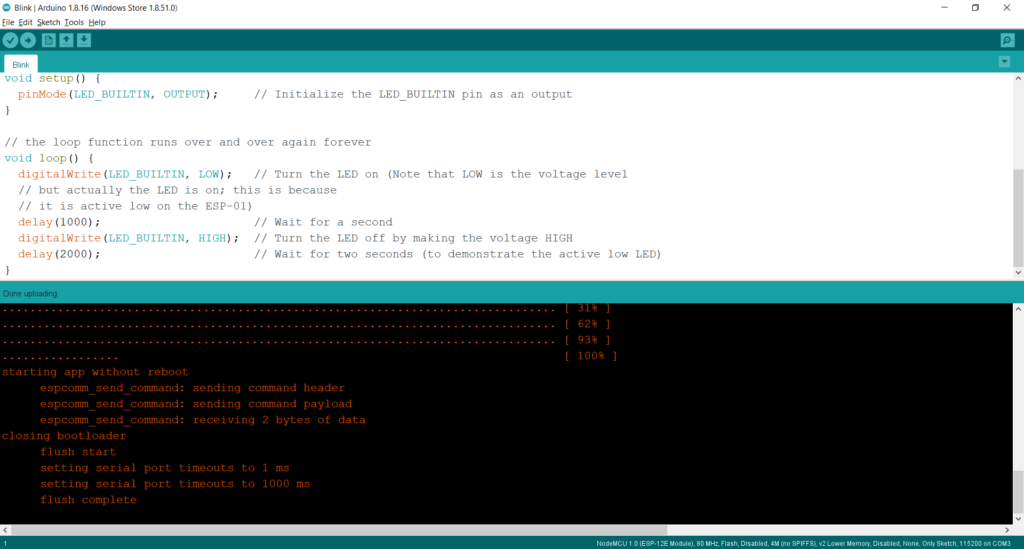
Now that the software is all set. Navigate to the examples and pick the classic Blink code and select the appropriate board and compile and upload the code as you would on any other Arduino board.
Stay Tuned for the next series of blogs about the nodemcu to learn more !
If you would like to buy one of these hardware please visit our webstore and pick the nodemcu you would want to try out.


