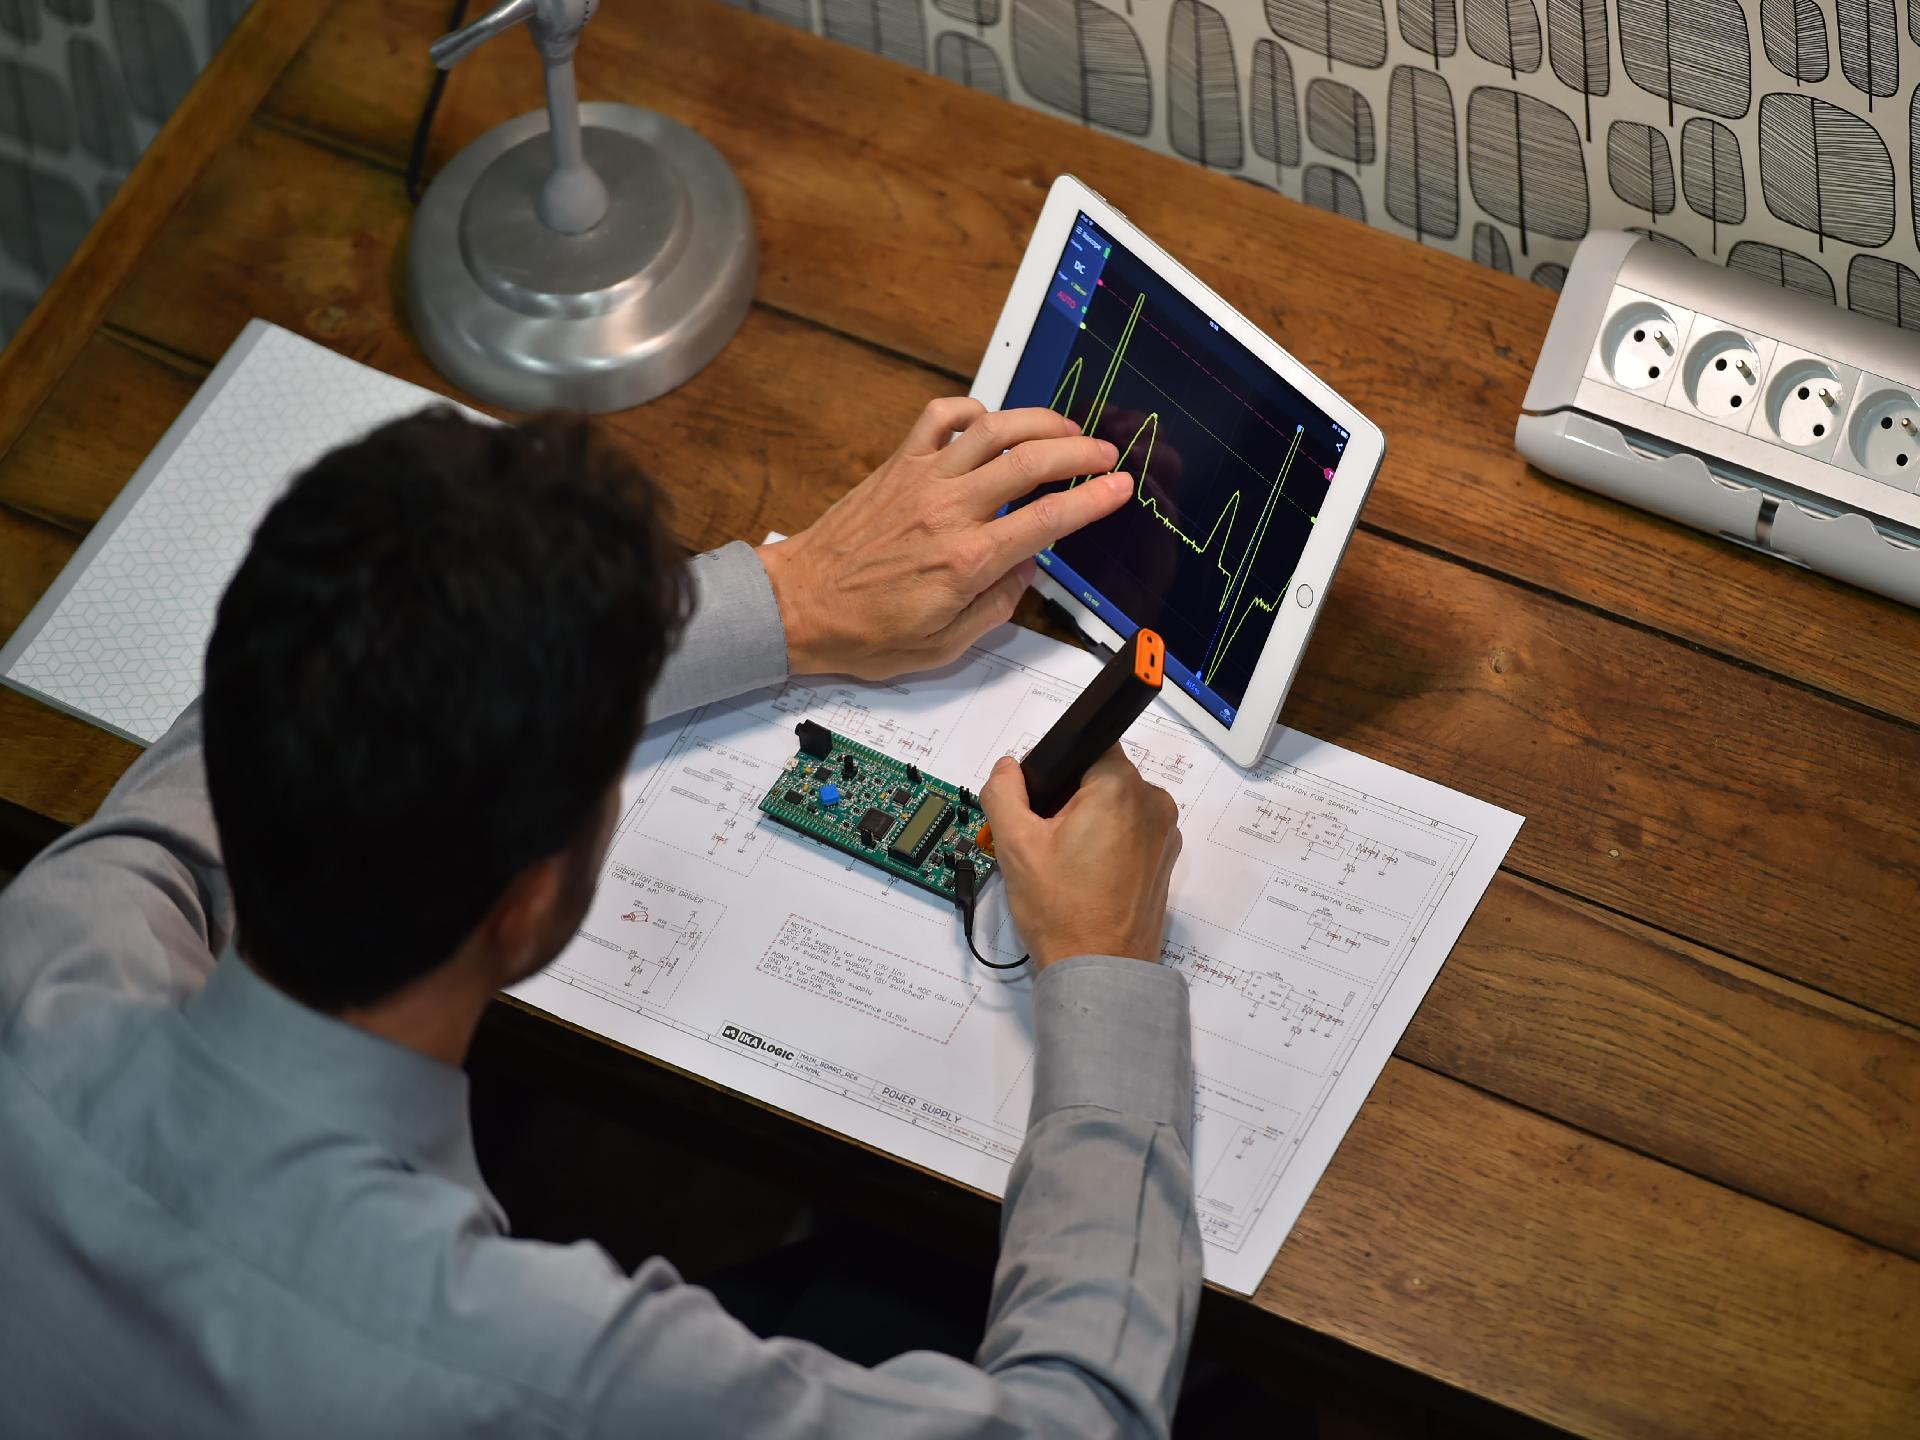
Learn about current generation oscilloscope and how to use it to measure various signals of circuit elements.
Features of Ikascope
- Wi-Fi-based scope
- 200 million sample per second (MSPS)
- 30 MHz Bandwidth
- +/- 40V Input range
- 100mV to 10V per Division
- 10M ohm/ 14Pf Input Impedance
- 8 Bit sample resolution
- 4000 sample points
- 420 mAh battery
Supportive for Windows, Linux, MAC, IOS, Android
Getting an Ikascope
Tenet Technetronics is more than happy to have set up an Exclusive Distribution Alliance with IkaLogic and promote as well as distribute the IkaLogic products in India. Check out our website (https://www.tenettech.com/product/ikascope)
A Note before we begin
Before starting the experiment let me introduce you to the overview of the blog. In this blog, I am introducing you to the Current generation’s portable and smart Wi-Fi based oscilloscope to measure the signal in the circuit elements. Here I would like to give you the complete details, like How to start? How to connect? And how to share measured values?
How to start? How to Connect? How to share?
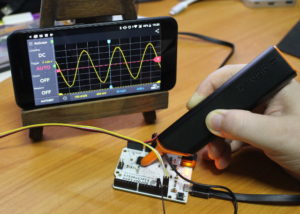
The Smart Ikascope does not have any button switch on the Ikascope, to turn it on press the tip of the device for 5 seconds. Check for the white LED to blink and now your Wi-Fi network is available. Connect your display device (Mobile, Tablet, and Desktop) to the Ikascope Wi-Fi network. Once you measure the values, there is an additional feature to check the history with the date and time. This data can also be shared as a screenshot.
So now let us do some simple experiment with Arduino to understand how to tap the signal from Arduino through Ikascope.
Analyzing the Digital write signal from the Arduino
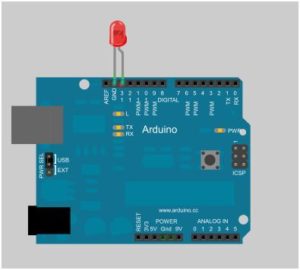
Setup the connection as shown in the picture, the required components are LED, 1k resistor, jumpers and Arduino UNO.

The Portable Ikascope kick-start guide is available at Tenet World YouTube channel (LINK). Follow the instruction to switch on and connect the Ikascope with laptop or mobile.

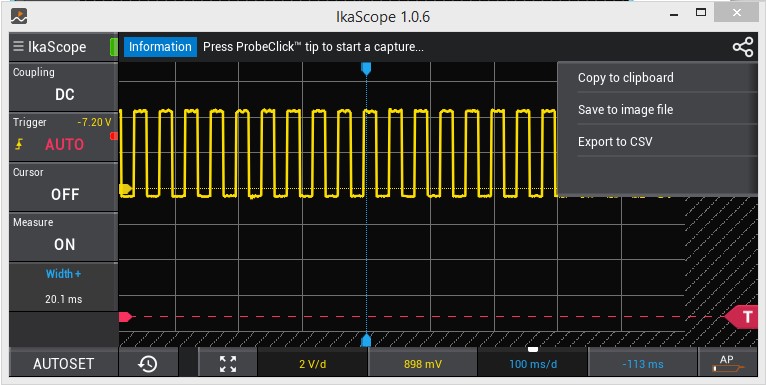
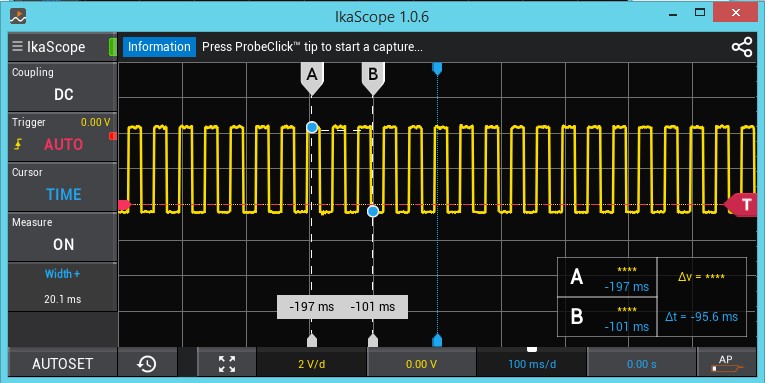
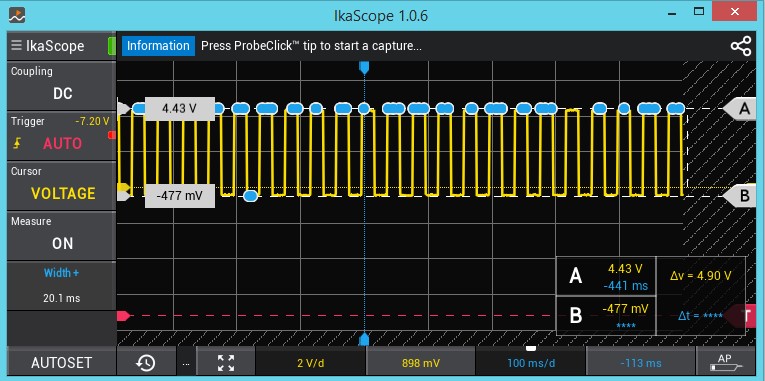
In the above screenshot, it is clearly displayed that the simple digital write Arduino code and the signals tapped from the Ikascope.

The above Screenshot gives clear idea about the special features of Ikascope where we can take individual measurements as shown in the LHS of the picture (We can add eight different parameters as per the requirement). And also the below reference screenshot clearly gives the convenient way to measure the cursor Feature (Time can be measured with two references A and B. Similarly For the voltage measurements can be done)
One interesting feature of Ikascope is which provides an option to save the previous signal measurement history. At the right top button provides save and export option, you can check out in the below picture.
